In this visual journey into the world of Raspberry Pi, we’re going to uncover the magic behind the lens as we embark on a captivating project—capturing your first photo with the Raspberry Pi Camera Module. It’s time to awaken your inner photographer, explore the capabilities of this fantastic piece of tech, and snap some memories into existence!
Materials Needed:
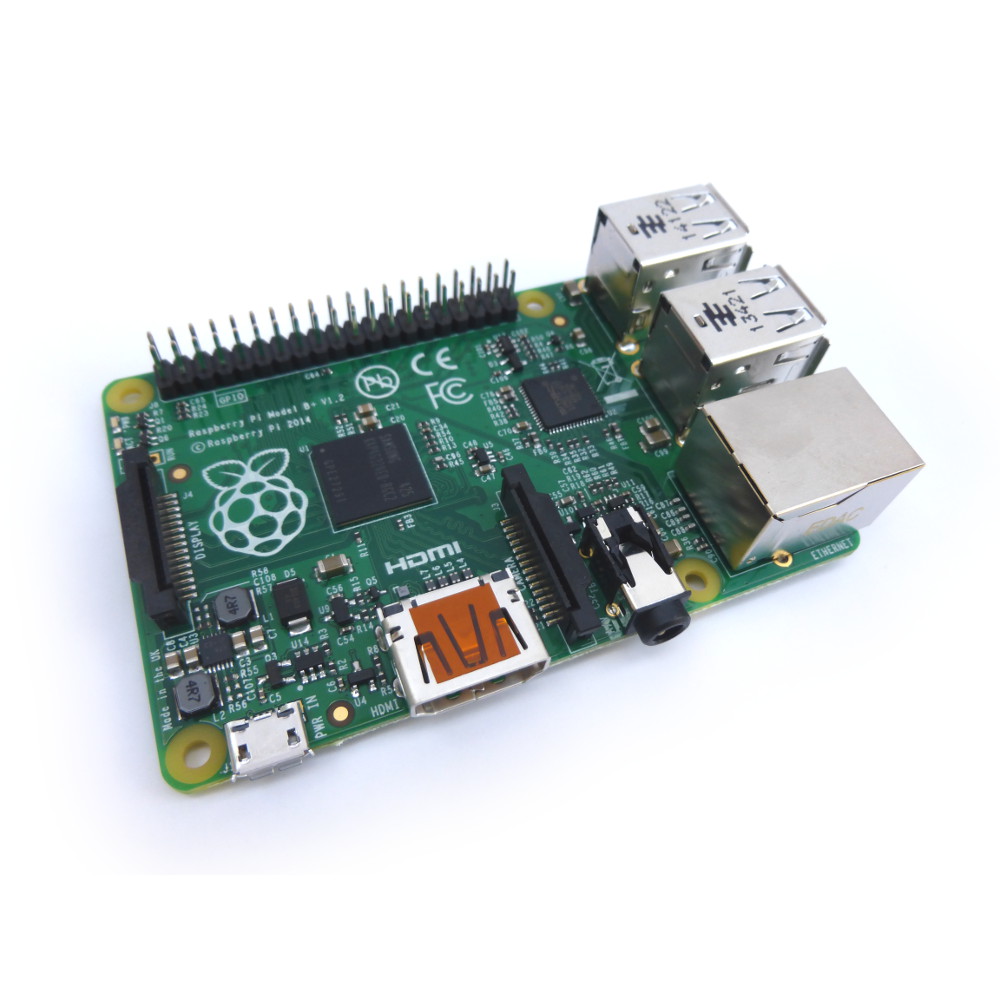
- Raspberry Pi (any model with a camera connector)
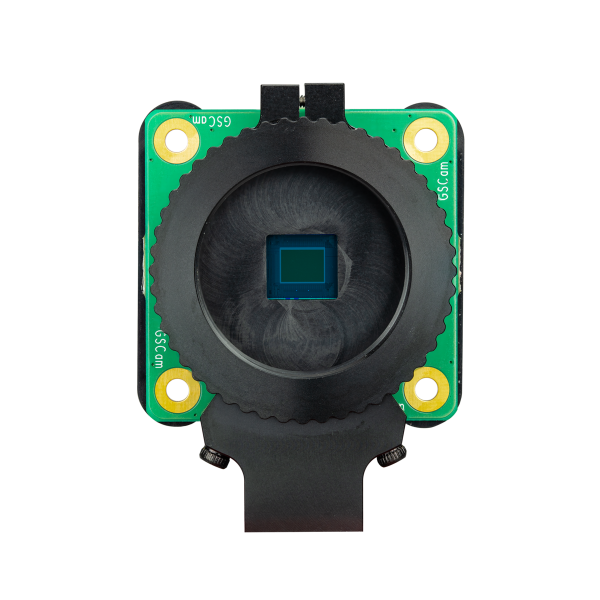
- Raspberry Pi Camera Module
- MicroSD card with Raspbian OS installed
- Power supply, keyboard, mouse, and monitor for your Raspberry Pi
Step 1: Set the Stage for Your Photo Adventure
Ensure that your Raspberry Pi is up and running with the Raspbian OS installed. If you haven’t set up your Raspberry Pi yet, follow the instructions on the official Raspberry Pi website to install the OS.
Step 2: Connect the Camera Module
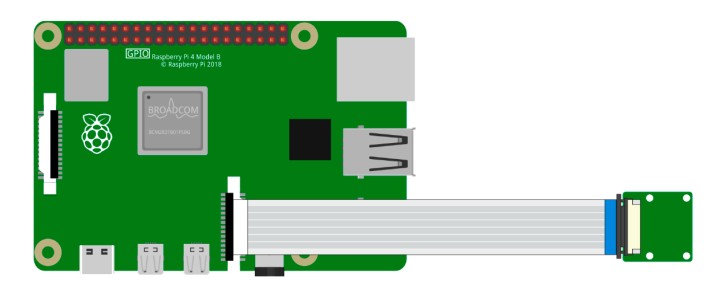
- Locate the camera connector on your Raspberry Pi board.
- Unlock the connector by gently pulling up on the edges.
- Insert the ribbon cable of the Camera Module into the camera connector, ensuring the metal contacts face away from the HDMI ports.
- Lock the connector back in place.
Step 3: Enable the Camera Interface
- Open the Raspberry Pi Configuration tool by entering the following command in the terminal:
- Navigate to “Interfacing Options” and select “Camera.”
- Choose “Yes” when prompted to enable the camera.
- Reboot your Raspberry Pi to apply the changes.
Step 4: Capture Your First Photo
- Open the terminal on your Raspberry Pi.
- Enter the following command to take a photo:
- Witness the magic as your Raspberry Pi Camera Module captures its first snapshot!
Step 5: Explore Advanced Options
The raspistill command offers a plethora of options to fine-tune your photo-capturing experience. Experiment with settings like exposure, saturation, and image quality. To explore available options, enter:
raspistill --help
Step 6: Review and Share Your Masterpiece
Use an image viewer or open the file manager to locate and view your captured photo. You’ve officially become a Raspberry Pi photographer! Share your masterpiece with friends and family, and revel in the satisfaction of capturing a moment with your Raspberry Pi.
Conclusion: Frame by Frame, a Pi Camera Tale Unfolds
Congratulations! You’ve successfully captured your first photo with the Raspberry Pi Camera Module. As you venture deeper into the world of Raspberry Pi projects, consider exploring video recording, time-lapse photography, or even building a security camera system.
Stay tuned for more exciting Raspberry Pi projects and tutorials as you continue to unravel the endless possibilities of this versatile mini-computer. Happy snapping! 📷✨