
Welcome to a fascinating exploration of distance measurement in the world of Arduino! In this tutorial, we’ll delve into the application of Ultrasonic Distance Sensors, unlocking their potential with the powerful Arduino MEGA. Whether you’re creating a robotics project, building a smart device, or simply curious about distance sensing, this comprehensive guide will walk you through the process step by step.
Materials Needed:
- Arduino MEGA board
- Ultrasonic Distance Sensor (HC-SR04)
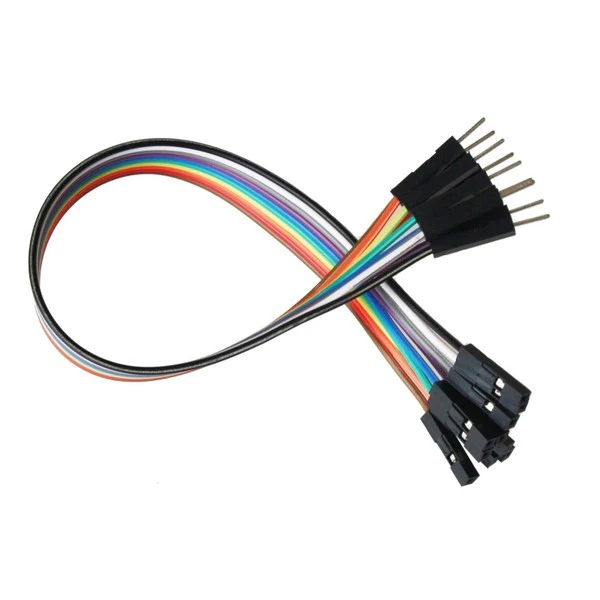
- Jumper wires
- Breadboard
- External power source (optional)


Overview:
Ultrasonic Distance Sensors utilize sound waves to measure distances, making them a versatile choice for various applications. In this tutorial, we’ll focus on interfacing an Ultrasonic Distance Sensor with the Arduino MEGA to accurately measure distances and unleash the full potential of this dynamic duo.
Step 1: Understanding the Ultrasonic Distance Sensor:
The HC-SR04 Ultrasonic Sensor consists of a transmitter and a receiver. It sends out ultrasonic pulses and calculates the time taken for the pulses to return after hitting an object. This information allows us to calculate the distance.
Step 2: Connecting the Ultrasonic Sensor to Arduino MEGA:
- Connect VCC and GND: Attach the VCC pin of the sensor to the 5V pin on the Arduino MEGA. Connect the GND pin to any ground (GND) pin on the Arduino.
- Connect Trigger and Echo: Link the Trigger (Trig) pin of the sensor to digital pin 9 on the Arduino. Connect the Echo pin to digital pin 10.
Step 3: Write the Arduino Sketch (Code):
Now, let’s create the code for our Ultrasonic Distance Sensor. Open the Arduino IDE and start a new sketch. Enter the following code:
#define trigPin 9
#define echoPin 10

void setup() {
  Serial.begin(9600);
  pinMode(trigPin, OUTPUT);
  pinMode(echoPin, INPUT);
}

void loop() {
  long duration, distance;

  // Clear the trigPin to ensure a clean pulse
  digitalWrite(trigPin, LOW);
  delayMicroseconds(2);

  // Send a 10 microsecond pulse to trigger the sensor
  digitalWrite(trigPin, HIGH);
  delayMicroseconds(10);
  digitalWrite(trigPin, LOW);

  // Measure the duration of the pulse from the echoPin
  duration = pulseIn(echoPin, HIGH);

  // Calculate the distance in centimeters
  distance = duration * 0.034 / 2;

  // Print the distance to the Serial Monitor
  Serial.print("Distance: ");
  Serial.print(distance);
  Serial.println(" cm");

  // Wait for a short time before the next measurement
  delay(500);
}
Step 4: Upload and Monitor:
- Connect your Arduino MEGA to your computer.
- Open the Arduino IDE and select the correct board and port.
- Click the upload button to upload the sketch to your Arduino.
Step 5: Observe Distance Measurements:
After uploading the sketch, open the Serial Monitor (Tools > Serial Monitor) to observe real-time distance measurements in centimeters. As you move objects closer or farther from the sensor, the readings will adjust accordingly.
Step 6: Experiment and Enhance:
Now that you have a functioning distance sensor, consider expanding the project:
- Multiple Sensors: Integrate multiple Ultrasonic Sensors for 360-degree coverage.
- Threshold Alerts: Set thresholds to trigger specific actions or alerts based on distance readings.
- Integration with Motors: Use distance measurements to control motors for obstacle avoidance in robotics projects.
Conclusion:
Congratulations! You’ve successfully harnessed the power of Ultrasonic Distance Sensors on Arduino MEGA. This opens the door to countless possibilities, from creating smart devices to developing advanced robotics applications.
Stay tuned for more exciting Arduino projects and tutorials as you explore the vast landscape of electronics and programming. Happy measuring! 📏🚀

