Welcome to the world of Arduino projects! In this intermediate-level tutorial, we’ll guide you through the process of creating your own digital thermometer using an Arduino board and a temperature sensor. This project not only introduces you to sensor interfacing but also enhances your coding skills as you delve into more advanced functionalities. Let’s dive in and build a practical and informative Arduino Thermometer!
Materials Needed:
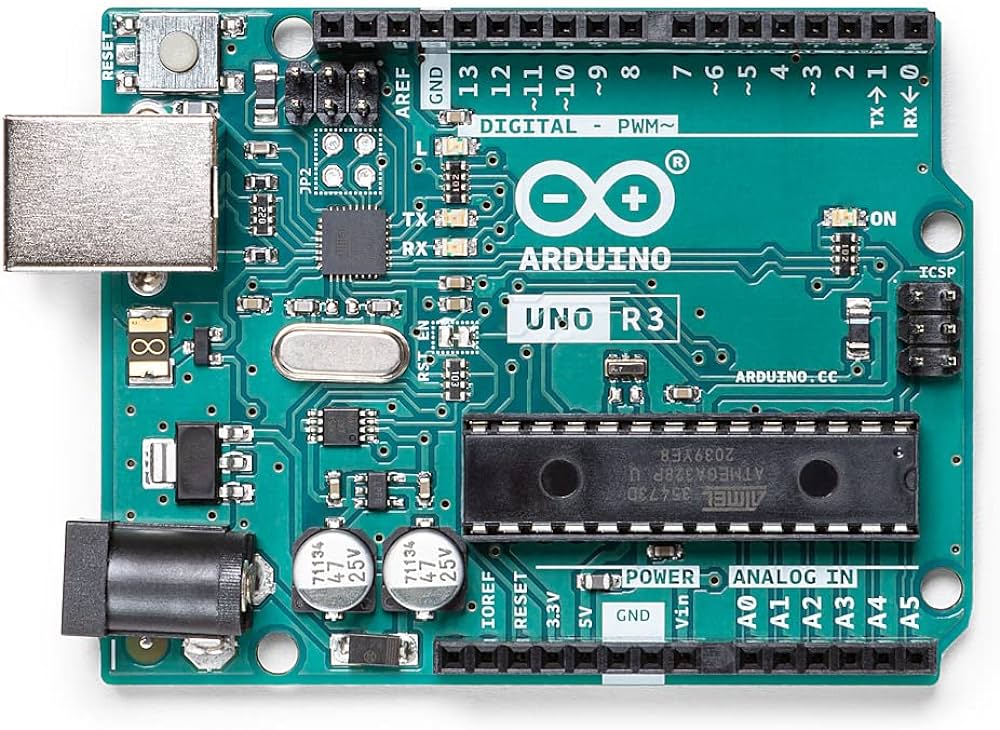
- Arduino board (e.g., Arduino Uno)
- USB cable for connecting Arduino to your computer
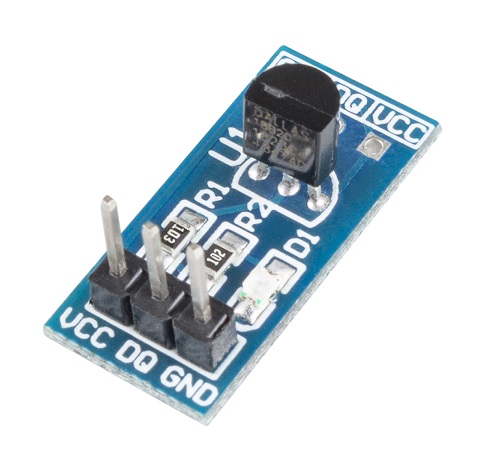
- DS18B20 Temperature Sensor
- 4.7kΩ Resistor
- Breadboard and jumper wires
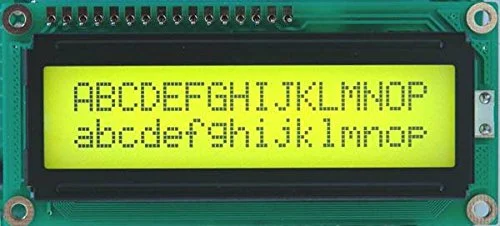
- 16×2 LCD Display
- Potentiometer (for adjusting LCD contrast)
- Protoboard (optional for a neater layout)
Step 1: Set Up Your Arduino Environment
- Ensure that you have the Arduino IDE installed on your computer. If not, download and install it from Arduino Software.
- Connect your Arduino board to your computer using the USB cable.
- Open the Arduino IDE to prepare for programming.
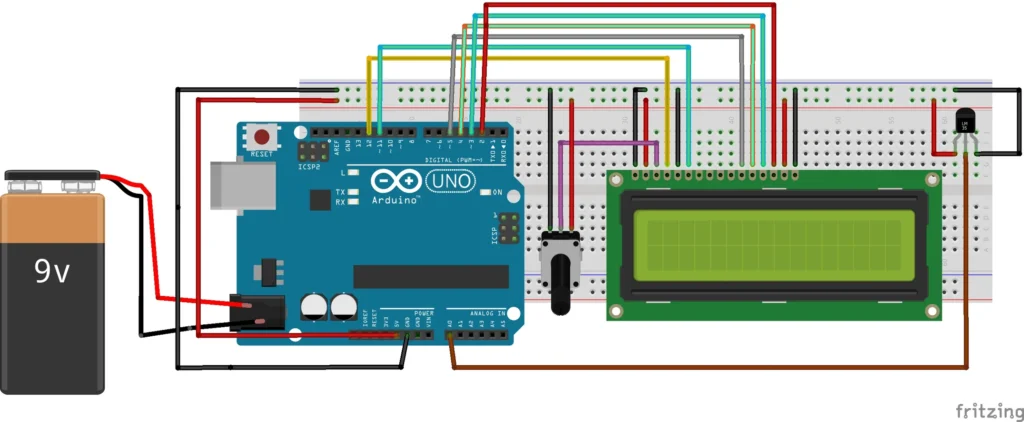
Step 2: Connect Components to Arduino
- Connect the DS18B20 Temperature Sensor:
- Connect the DS18B20’s VCC pin to 5V on the Arduino.
- Connect the DS18B20’s GND pin to GND on the Arduino.
- Connect the DS18B20’s Data pin to digital pin 2 on the Arduino.
- Add a 4.7kΩ resistor between the DS18B20’s VCC and Data pins.
- Connect the 16×2 LCD Display:
- Connect the LCD’s VCC to 5V on the Arduino.
- Connect the LCD’s GND to GND on the Arduino.
- Connect the LCD’s SDA to analog pin A4 on the Arduino.
- Connect the LCD’s SCL to analog pin A5 on the Arduino.
- Adjust the LCD contrast using the potentiometer.
- Connect your components on the breadboard or protoboard.
Step 3: Install Libraries
In the Arduino IDE, go to “Sketch” > “Include Library” > “Manage Libraries.” Install the “OneWire” and “DallasTemperature” libraries for the DS18B20 sensor.
Step 4: Write Your Arduino Sketch (Code)
Open a new sketch in the Arduino IDE and enter the following code:
#include <Wire.h>
#include <LiquidCrystal_I2C.h>
#include <OneWire.h>
#include <DallasTemperature.h>

#define ONE_WIRE_BUS 2

OneWire oneWire(ONE_WIRE_BUS);
DallasTemperature sensors(&oneWire);

LiquidCrystal_I2C lcd(0x27, 16, 2);

void setup() {
  lcd.begin(16, 2);
  sensors.begin();
}

void loop() {
  sensors.requestTemperatures();
  float temperatureC = sensors.getTempCByIndex(0);
  float temperatureF = sensors.toFahrenheit(temperatureC);

  lcd.clear();
  lcd.setCursor(0, 0);
  lcd.print("Temp: ");
  lcd.print(temperatureC);
  lcd.print(" C");

  lcd.setCursor(0, 1);
  lcd.print("      ");
  lcd.setCursor(0, 1);
  lcd.print("Temp: ");
  lcd.print(temperatureF);
  lcd.print(" F");

  delay(1000);
}
Step 5: Upload Your Sketch to Arduino
- Select your Arduino board model and port in the Arduino IDE under “Tools.”
- Click the right arrow button (Upload) to compile and upload your sketch to the Arduino.
- Wait for the upload process to finish.
Step 6: Observe Your Digital Thermometer
After uploading the sketch, you should see the temperature readings displayed on the LCD in both Celsius and Fahrenheit. The sensor will continuously update the temperature every second.
Conclusion:
Congratulations! You’ve successfully built a digital thermometer using Arduino. This intermediate-level project takes you beyond the basics, introducing you to sensor integration and LCD displays. From here, you can explore further by adding features like data logging, calibration, or even connecting your Arduino thermometer to the internet.
Stay tuned for more exciting Arduino projects and tutorials as you continue to expand your skills in the world of electronics and programming. Happy tinkering!