Welcome to the wonderful world of Raspberry Pi, where your journey as a DIY electronics enthusiast begins! In this tutorial, we’ll take you step-by-step through setting up a simple yet fascinating beginner project: connecting a temperature sensor to your Raspberry Pi. By the end of this guide, you’ll have a functional temperature-sensing system ready to broaden your understanding of both hardware and software tinkering.
Materials Needed:
- Raspberry Pi (any model with GPIO pins)
- DS18B20 Temperature Sensor
- Breadboard and jumper wires
- 4.7kΩ Resistor (for DS18B20)
- MicroSD card with Raspbian OS installed
Step 1: Set Up Your Raspberry Pi
If you haven’t set up your Raspberry Pi yet, follow these steps:
- Download the latest Raspbian OS from the official Raspberry Pi website.
- Use a tool like Etcher to flash the OS onto your microSD card.
- Insert the microSD card into your Raspberry Pi, connect peripherals (keyboard, mouse, and monitor), and power it up.
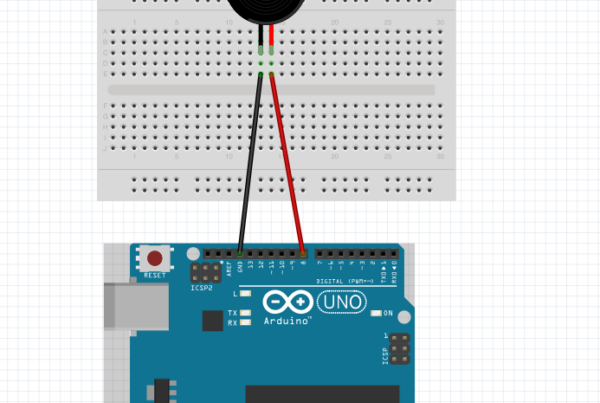
Step 2: Connect the Temperature Sensor
- Identify the DS18B20 temperature sensor. It has three wires: red (VCC), yellow (data), and black (ground).
- Connect the red wire to 3.3V (pin 1) on the Raspberry Pi.
- Connect the black wire to GND (pin 6) on the Raspberry Pi.
- Connect the yellow wire to GPIO 4 (pin 7) on the Raspberry Pi.
- Add a 4.7kΩ resistor connecting the yellow (data) wire to the red (VCC) wire.
Step 3: Enable One-Wire Interface
On your Raspberry Pi, open the terminal and enter the following commands:
sudo nano /boot/config.txtAdd the following line at the end of the file:
dtoverlay=w1-gpioSave the changes and exit. Reboot your Raspberry Pi using:
sudo rebootStep 4: Read Temperature Data with Python
Open the terminal on your Raspberry Pi and enter:
sudo modprobe w1-gpio
sudo modprobe w1-therm
Navigate to the /sys/bus/w1/devices/ directory to find your temperature sensor:
cd /sys/bus/w1/devices/
ls
Enter the directory with your device ID (a series of numbers and letters).
View the temperature data using:
cat w1_slaveStep 5: Python Script for Continuous Temperature Reading
Create a Python script to continuously read the temperature from the sensor.
import time

def read_temperature():
    with open('/sys/bus/w1/devices/your_device_id/w1_slave', 'r') as file:
        data = file.read()

    # Extract temperature from the data
    temperature = data[data.index('t=') + 2:]
    temperature = float(temperature) / 1000.0

    return temperature

try:
    while True:
        temp = read_temperature()
        print(f'Temperature: {temp}°C')
        time.sleep(1)

except KeyboardInterrupt:
    print('Exiting...')
Replace 'your_device_id' with the actual device ID you found in the earlier steps.
Conclusion:
Congratulations! You’ve successfully created a Raspberry Pi temperature-sensing project. This beginner-friendly endeavor is an excellent introduction to both hardware connections and Python programming on the Raspberry Pi. Experiment with different sensors and explore ways to enhance and expand your newfound skills in the vast realm of Raspberry Pi projects.
Stay tuned for more exciting tutorials and projects as you embark on your journey into the fascinating universe of DIY electronics with Raspberry Pi. Happy coding!