Welcome to the world of Raspberry Pi, where your journey as a maker begins! In this tutorial, we’ll guide you through a beginner-friendly project: setting up a basic web server on your Raspberry Pi. By the end of this guide, you’ll have a simple web server running, opening doors to endless possibilities for hosting your projects, websites, or even personal blogs.
Materials Needed:
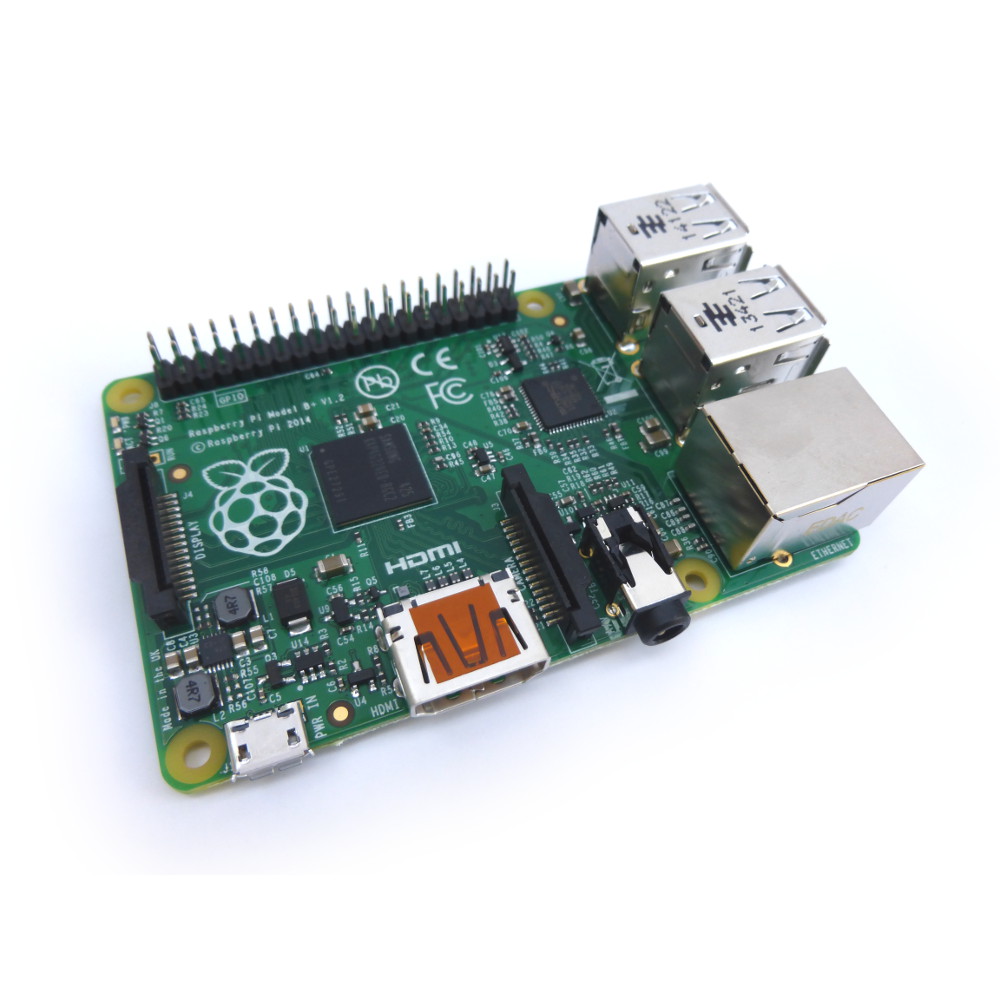
- Raspberry Pi (any model with GPIO pins)
- MicroSD card with Raspbian OS installed
- Power supply, keyboard, mouse, and monitor for your Raspberry Pi
- Internet connection (Ethernet or Wi-Fi)
Step 1: Set Up Your Raspberry Pi
If you haven’t set up your Raspberry Pi yet, follow these steps:
- Download the latest Raspbian OS from the official Raspberry Pi website.
- Use a tool like Etcher to flash the OS onto your microSD card.
- Insert the microSD card into your Raspberry Pi, connect peripherals, and power it up.
Step 2: Connect to the Internet
Ensure your Raspberry Pi is connected to the internet, either through an Ethernet cable or Wi-Fi. Configure the internet settings using the Raspberry Pi Configuration tool.
Step 3: Install Apache Web Server
Open the terminal on your Raspberry Pi and enter the following command to install the Apache web server:
sudo apt-get update
sudo apt-get install apache2 -y
Step 4: Test Your Web Server
Once the installation is complete, open a web browser on your computer and enter the IP address of your Raspberry Pi. You can find the IP address by typing hostname -I in the terminal. If everything is set up correctly, you should see the default Apache2 page.
Step 5: Create Your Web Page
Navigate to the default web page directory:
cd /var/www/htmlCreate a simple HTML file using a text editor like Nano:
sudo nano index.htmlIn the editor, enter basic HTML code for your webpage. For example:
<!DOCTYPE html>
<html>
<head>
    <title>My Raspberry Pi Web Server</title>
</head>
<body>
    <h1>Hello, Raspberry Pi!</h1>
    <p>Welcome to my first web server project.</p>
</body>
</html>
Save the file and exit.
Step 6: Test Your Custom Web Page
Refresh your web browser, and you should now see your custom webpage instead of the default Apache page.
Step 7: Access Your Web Server from Anywhere
If you want to access your web server from outside your local network, consider setting up port forwarding on your router and using services like DynDNS.
Conclusion:
Congratulations! You’ve successfully set up a basic web server on your Raspberry Pi. This project serves as an excellent starting point for exploring web development, server management, and more advanced projects in the future.
Experiment with adding more content, exploring server-side scripting languages, or even hosting a small personal website. Stay tuned for more exciting Raspberry Pi projects and tutorials as you continue your maker journey. Happy coding!