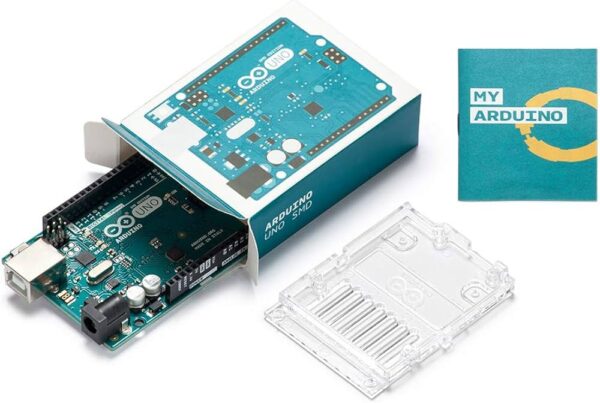
In this tutorial, we’ll dive into the realm of audible alerts as we guide you through the process of building a Buzzer Alarm using the versatile Arduino Uno. Whether you’re looking to enhance your security system or add an acoustic touch to your projects, this step-by-step guide will equip you with the skills to create your own buzzer alarm.
Materials Needed:
- Arduino Uno
- Buzzer
- Jumper wires
- Breadboard
- Resistor (220-330 ohms)
- External power source (optional)
Overview:
A Buzzer Alarm is a simple yet effective way to incorporate audio signals into your Arduino projects. In this tutorial, we’ll focus on using a basic buzzer to create sound alerts. You can customize the code later to adapt the alarm to specific scenarios.
Step 1: Set Up Your Hardware:
- Connect the Buzzer: Place the buzzer on the breadboard. Connect the positive (longer) leg of the buzzer to digital pin 8 on the Arduino. Connect the negative (shorter) leg of the buzzer to the ground (GND) on the Arduino via a resistor.

Step 2: Write the Arduino Sketch (Code):
Now, let’s create the code for our Buzzer Alarm. Open the Arduino IDE and start a new sketch. Enter the following code:
const int buzzerPin = 8; // Connect the buzzer to digital pin 8

void setup() {
  pinMode(buzzerPin, OUTPUT);
}

void loop() {
  // Activate the buzzer
  tone(buzzerPin, 1000); // You can adjust the frequency for different sounds
  delay(1000); // Sound for 1 second

  // Deactivate the buzzer
  noTone(buzzerPin);
  delay(1000); // Pause for 1 second before the next sound
}
Step 3: Upload and Test:
- Connect your Arduino Uno to your computer.
- Open the Arduino IDE and select the correct board and port.
- Click the upload button to upload the sketch to your Arduino.
Step 4: Listen to the Alarm Symphony:
After uploading the sketch, your Arduino Buzzer Alarm is ready. Listen as the buzzer alternates between active and inactive states, creating an audible alert. You can modify the frequency and duration in the code to customize the alarm.
Step 5: Experiment and Enhance:
Now that you have a working buzzer alarm, consider expanding the project:
- Sensor Integration: Connect sensors (e.g., motion sensor, temperature sensor) to trigger the alarm based on specific conditions.
- Melody Programming: Experiment with tone frequencies and durations to create custom melodies.
- External Power: For standalone projects, use an external power source to make your buzzer alarm portable.
Conclusion:
Congratulations! You’ve successfully crafted a Buzzer Alarm with Arduino Uno, adding a dynamic acoustic element to your projects. This foundation opens the door to more advanced sound-based applications, from musical projects to security systems.
Stay tuned for more exciting Arduino projects and tutorials as you explore the diverse capabilities of this incredible platform. Happy tinkering and sounding the alert! 🔊🚨

